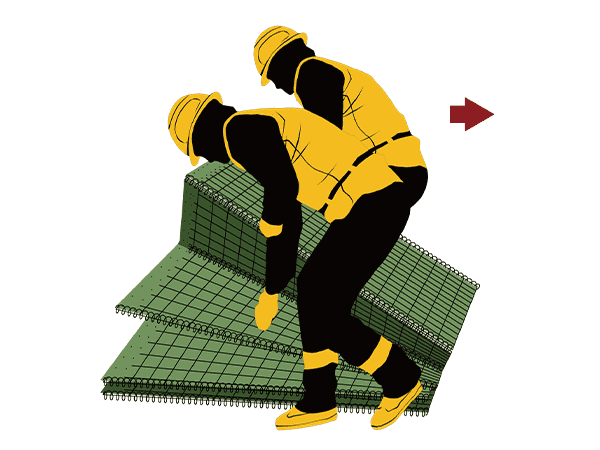
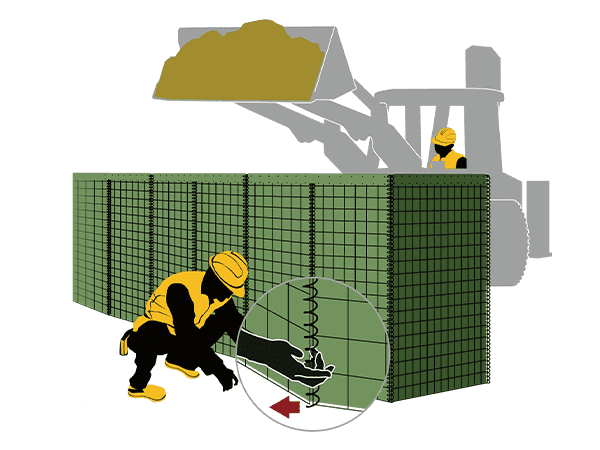
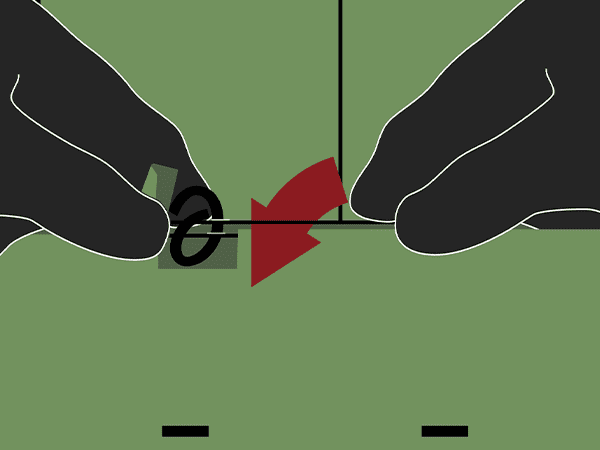
Unload the defensive barrier and place one unit in the desired location
The Global Leader in Gabion Baskets & Gabion Wall
Please tell us
EnZar®
Defensive barrier is a modular defensive barrier system that is made up of collapsible wire mesh baskets that are filled with sand or other materials. Baskets can be easily transported and assembled on site to create a barrier that can withstand blasts, projectiles, and other threats. The defensive barrier has been used in a wide range of applications, from military fortifications to flood protection walls.
Here we will introduce how to assemble defensive barriers to help with efficient and easy assembly. And we will list some introductions on corner and curve arrangement and how to fill in.
Defensive Barrier Assembly
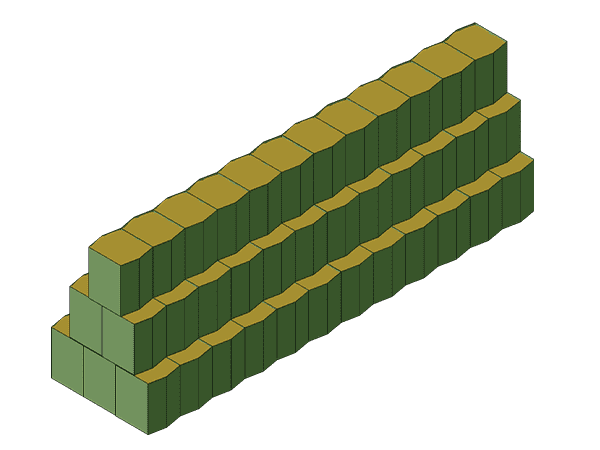
Unload the defensive barrier and place one unit in the desired location
Pull up and stretch. It is very easy to do this because the integrate structure.
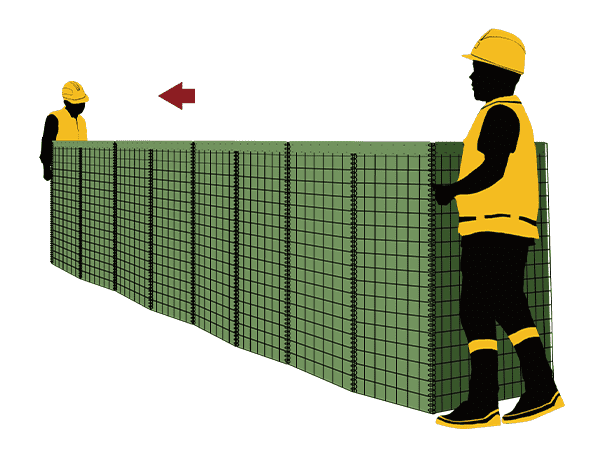
Pull out and check the position of defensive barrier.
Joining – Butt Together
Join defensive barrier unit into desired length.
Butt together the units to be joined, overlap them and interlock the coil on each butted corner.
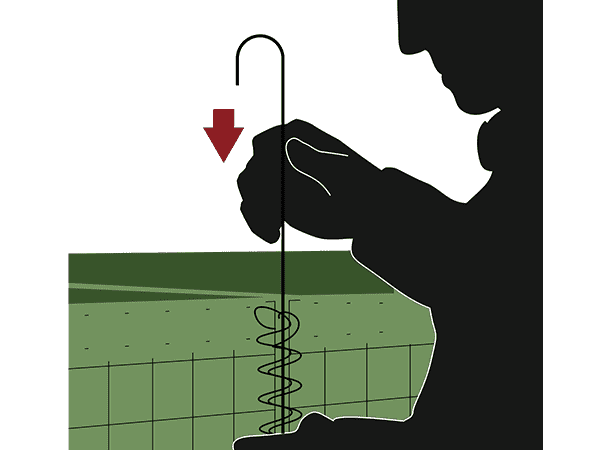
Joining – Place Joining Pins
Insert the joining pin through the overlapped coils, ensuring that it connects the coils fully and that it is fully Inserted. The joining pins are supplied with defensive barriers.
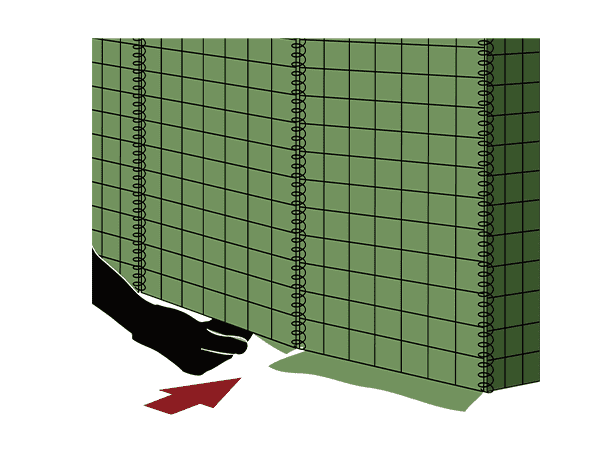
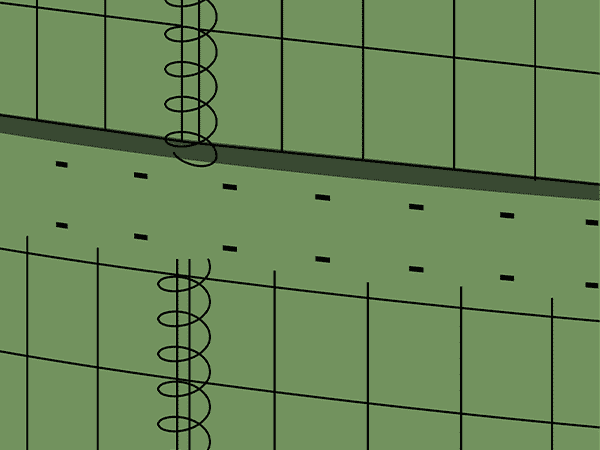
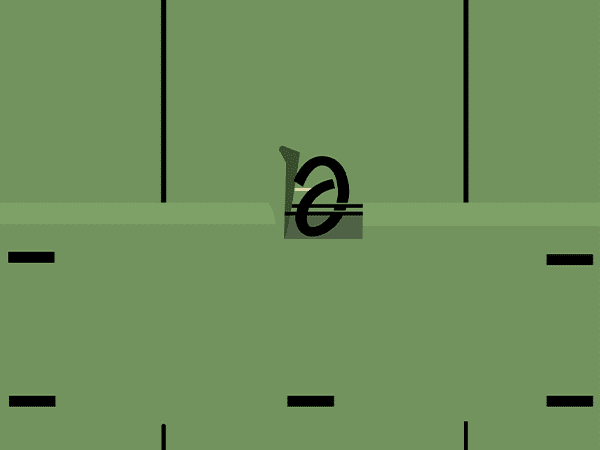
Tuck in Flaps at Base
All geotextile flaps at the base of the unit should be tacked in before filling for maximum stability and durability.
Notes
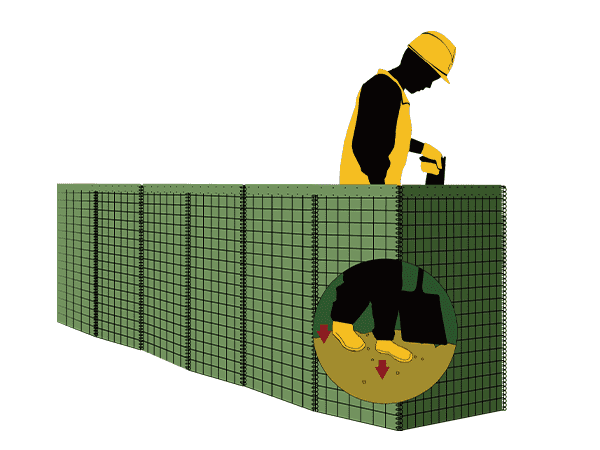
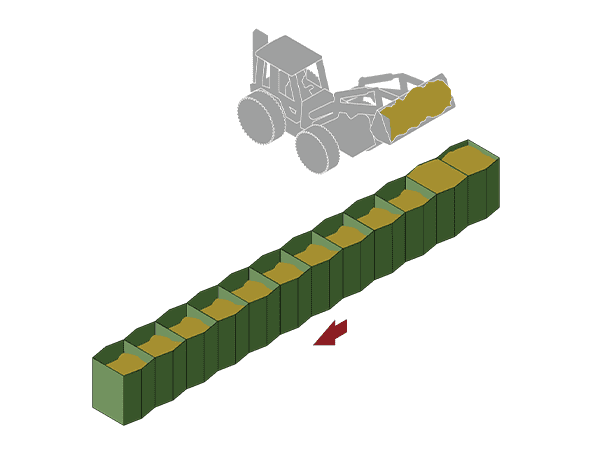
Fill the Cell
Fill containers with materials by excavators and pull out panel centers around 100 mm (4") after filling.
Compact the Material
Spread and compact the material every 300 mm (1 foot) of filling.
100 mm from the Top
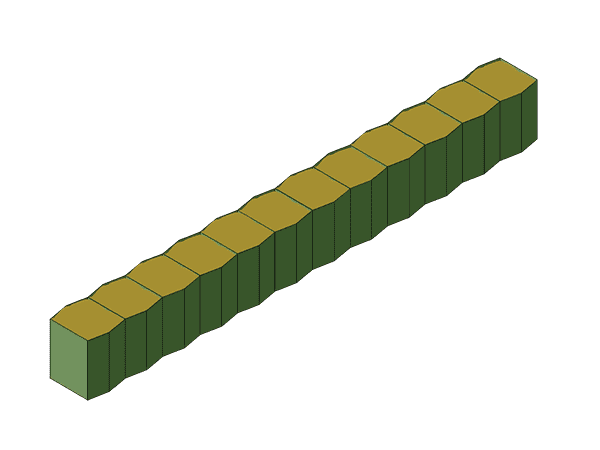
If you need the upper units, just fill the bottom unit to maximum 100 mm (4") from the top.
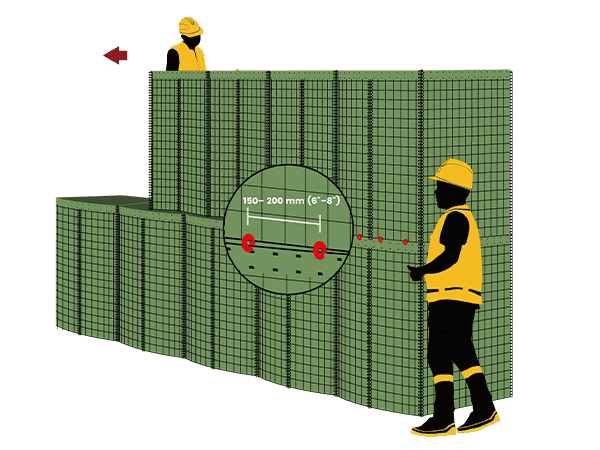
Step 10: Place and Fasten Upper Unit
Place the upper units and fasten them with provided hog rings.
Place the upper units and pull them out until all the cells are aligned vertically. Line up the upper cells with the lower ones.
Locate the top welded mesh strut under the stapled geotextile of the lower cell. Cut a small, horizontal hole under it and a vertical hole up through the geotextile.
Insert the welded mesh of the upper unit into the lower unit. Attach and rotate a hog ring enclosing the top strut of the lower cell and the bottom strut of the upper cell.
Fold all geotextile from the upper unit into the lower section prior to filling.
Hog rings are suggested to be fitted every 150–200 mm (6" to 8")
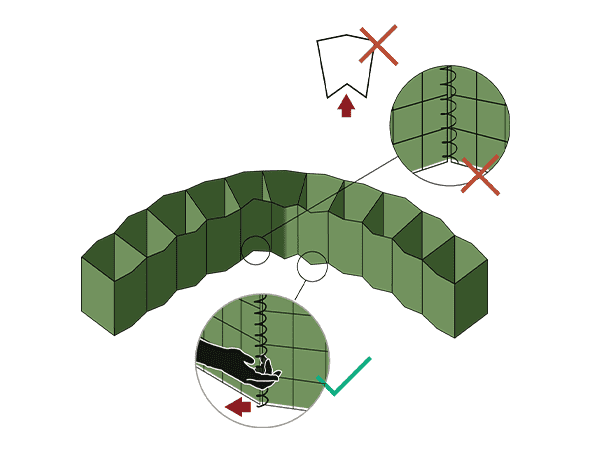
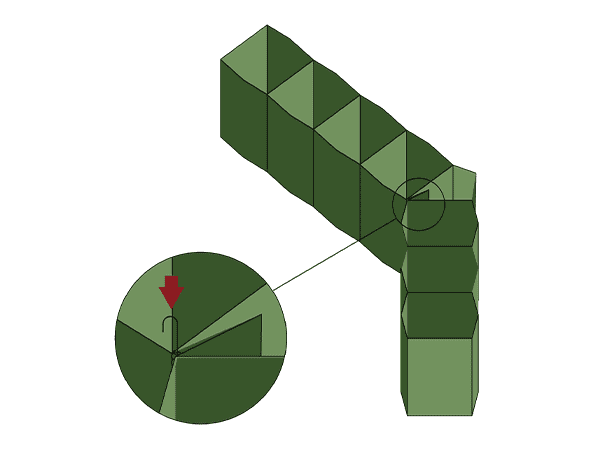
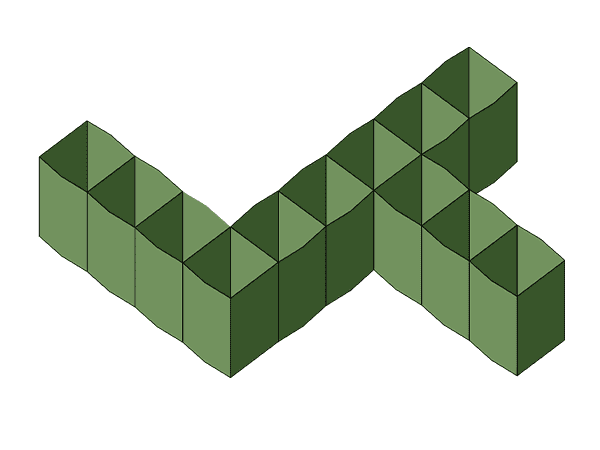
Corners & Curves Arrangement
There are various methods of making corners and curves with Concertainer units.
For Curved Walls
Pull out the center coils on each cell until you reach the desired curve.
Note: Only pull the center coil outward when creating a curved wall section to guarantee the minimum protective thickness.
For 45 Degree Corner
Fold into a complete side panel and secure by overlapping the coils and inserting a joining pin.
Note: this method is only applicable to units with a split side panel.
For 90 Degree Corner
Join two units of defensive barriers at a 90 degree by connecting the coils and inserting the joining pins.
Filling Arrangement
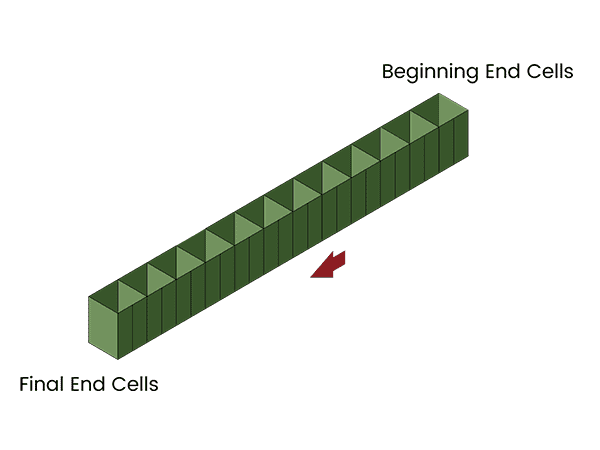
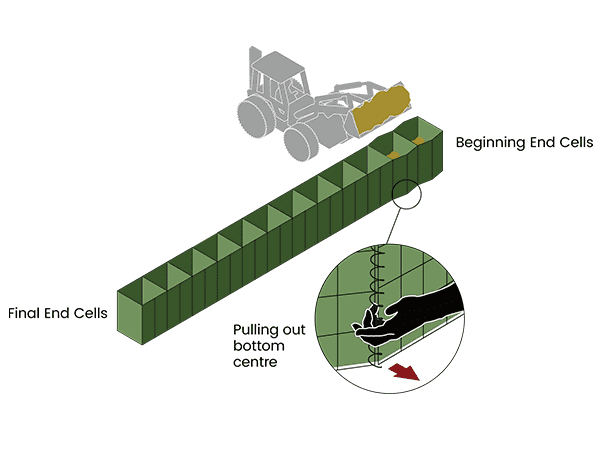
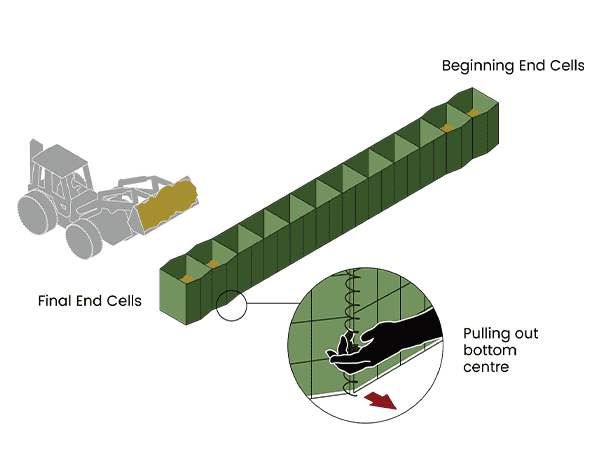
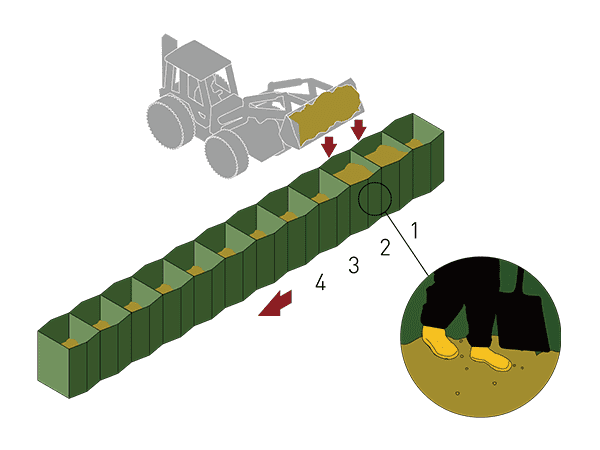
A proper filling sequence is equally vital, especially for longer walls. Follow the steps below for correct filling and maximum stability. All steps are based on loading equipment straddling two cells at a time.
Check for correct positioning, alignment, and level before proceeding with filling.
Start filling from the beginning end cells of defensive barriers and pull out the center coils.
Do not exceed 150 mm (6 inches) of material during the initial filling phase and manually compacted by feet.
Fill the final end cells on balance and pull out the center coils.
Fill the center cells for maximum stability and pull out the center coils.
Fill the remaining cells and pull out the center coils of each cell.
Subsequent layers of fill along the diaphragm shows and then continue along the full length of the wall and the filling height should be no greater than 300 mm. All fill must be spread inside each cell and then manually compacted by feet.
Filling should recommence from the beginning end cells and fill every 300 mm intervals. And no cell should ever contain more than 300 mm (12") of material than its neighbour. Failure to comply will result in deformation of defensive barriers.
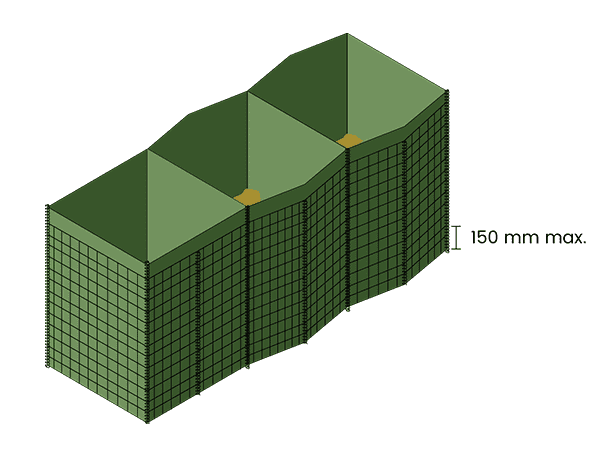
Filling Height
The filling height varies according to the structure.
Stand-Alone Walls
The stand-alone wall will not be subjected to a subsequent load. Units should be filled to the top and are need not be compacted.
Higher Walls – Straight Type
Units should be filled to approximately 100 mm (4") of the top of the unit to ensure that the geotextile flap at the base of the unit forms a seal. And the top of the walls should be filled to the top.
Higher Walls – Pyramid Type
Each layer of units should be filled to the top. And there is very little vertical joining required on a structure of this type.